Recipes – by Rebecca Caughey
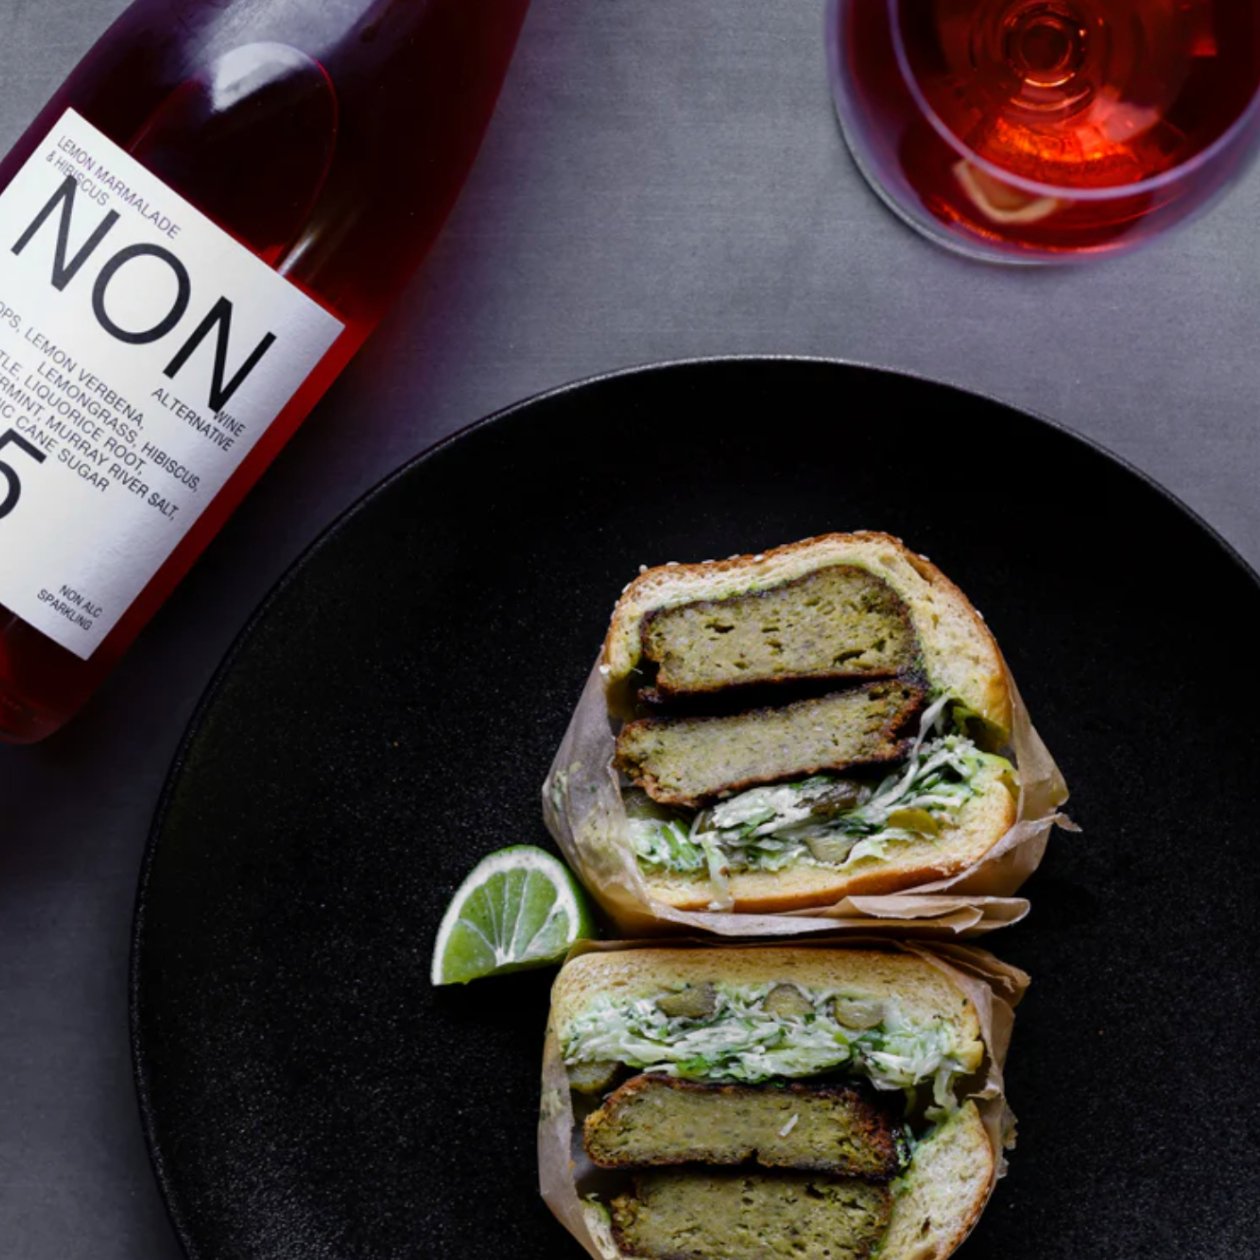
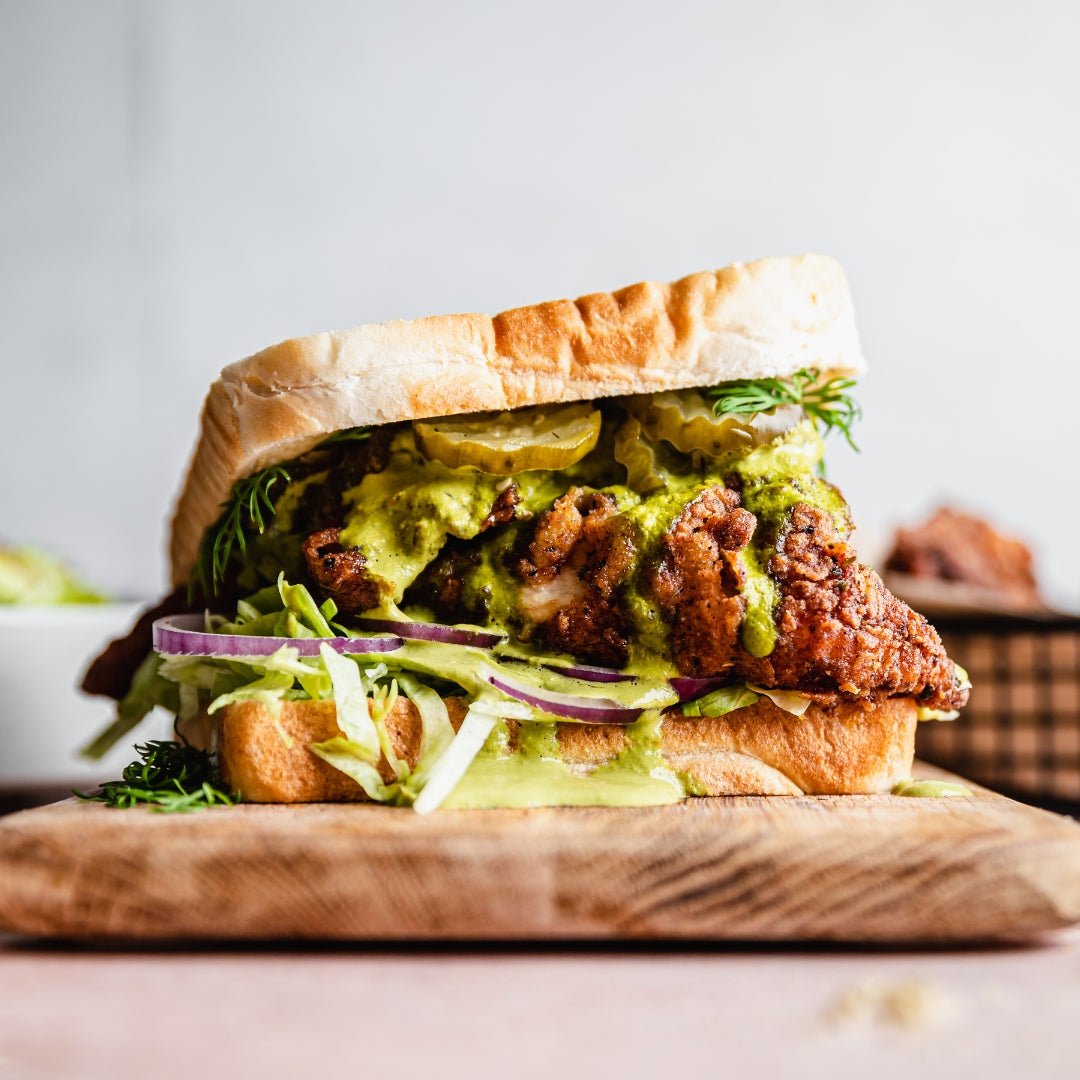
Southern-Fried Pickled Fish Sandwiches with Pickle Green Goddess Sauce and Pickle Salt Chips
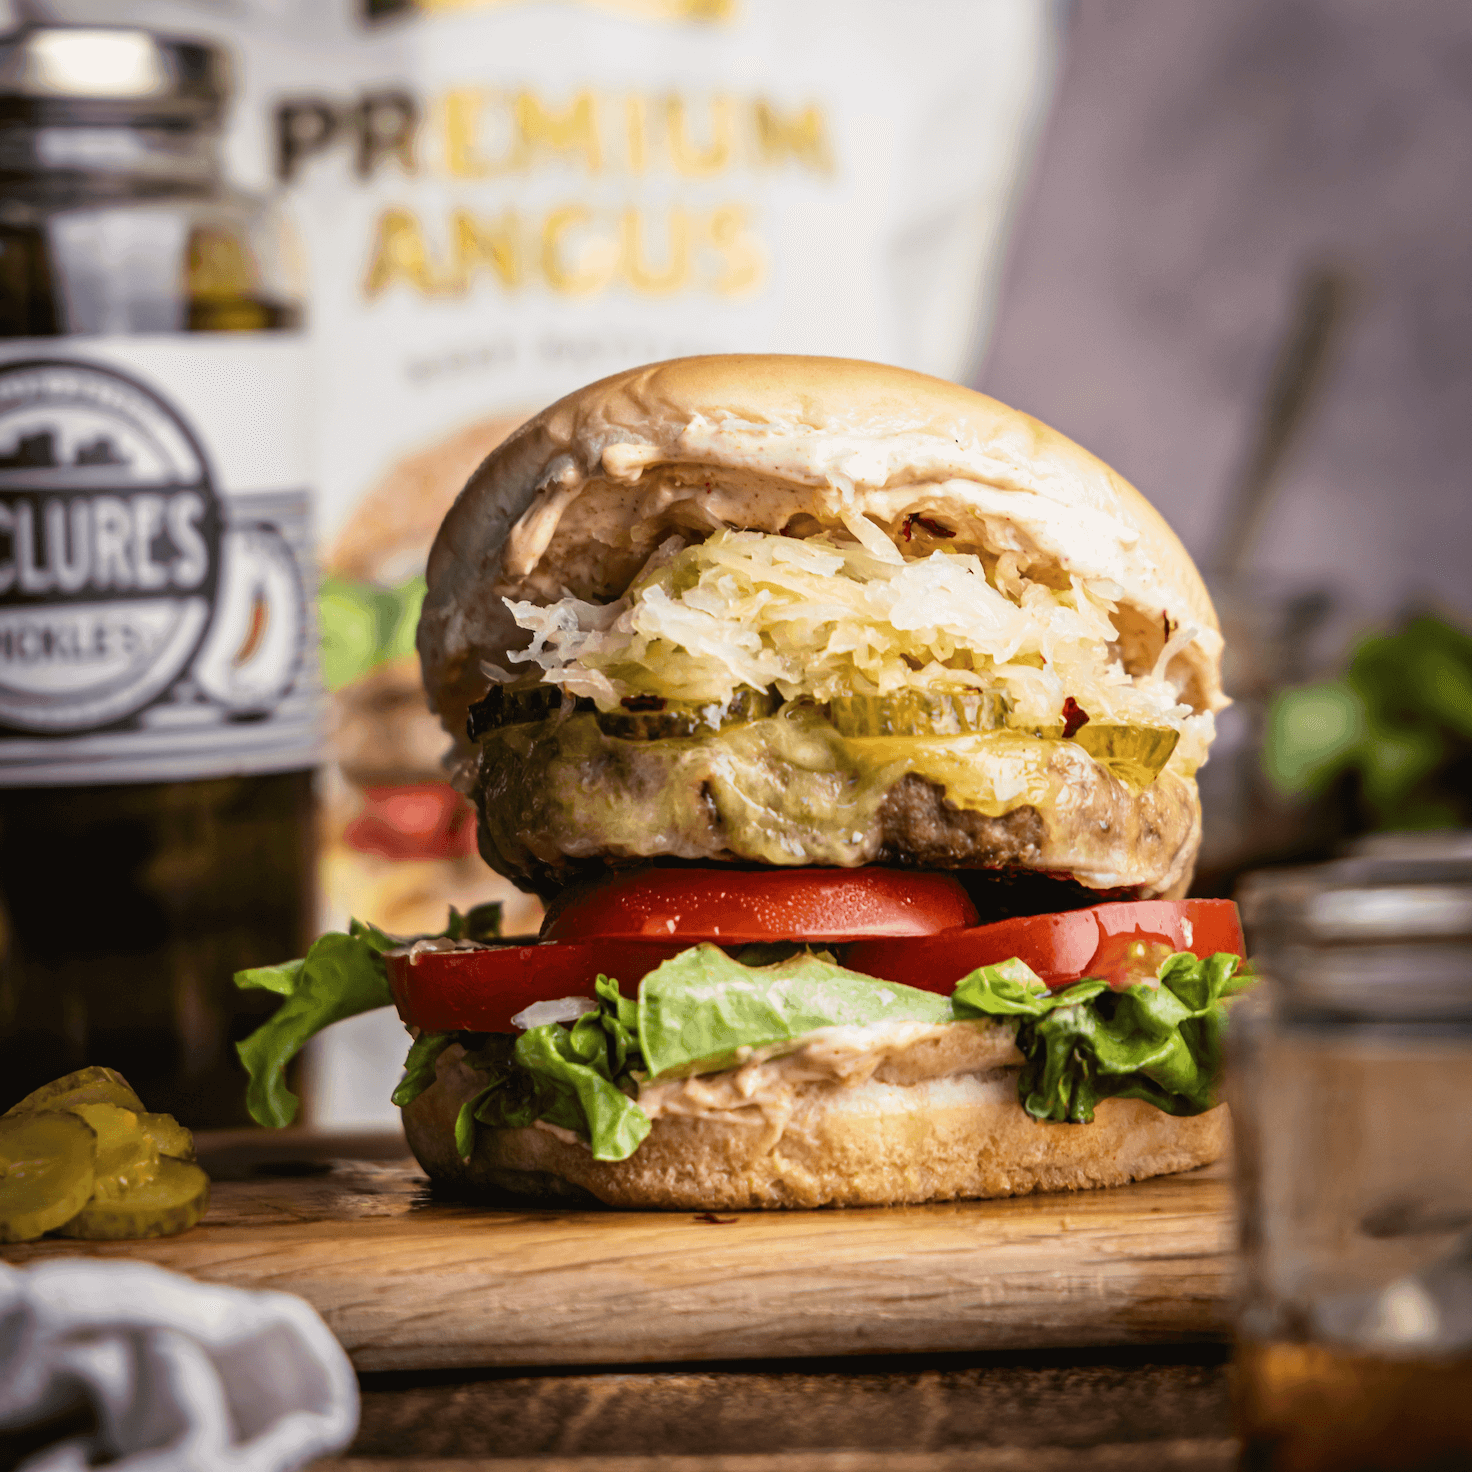
Get ready to drool over Brooke Moore's latest masterpiece, the Southern-Fried Pickled Fish Sandwich with Pickle Green Goddess Sauce and Pickle Salt Chips, the undisputed champion of the Great NZ Toastie Takeover 2023 and the ultimate pickle superstar of the year! Mixing old-school flavours with mouthwatering creativity, this sandwich is a true masterpiece of pickling and Brooke's culinary wizardry.
By Brooke Moore
Serves 2
Ingredients:
4 slices thick white bread
200g Moore Chicken Dry Mix (or any Southern-fried chicken coating you have on hand)
100g Moore Chicken Wet Mix, constituted with water (alternatively, you can use yoghurt)
1 jar of McClure’s Bread & Butter Pickles, brine and pickles separated
2 Warehou fillets
1⁄2 head iceberg, shredded
1⁄2 red onion, thinly sliced
1 handful McClures’ Bread & Butter Pickles
Butter, at room temperature
Pickle Green Goddess Sauce
250g Kewpie mayonnaise 250g sour cream
1 bunch parsley
1 bunch basil
1 bunch chives
2 bunches doing onions, green tops only 1 bunch dill
20ml kombu (omit if you can’t find)
200g McClures’ Bread & Butter Pickles
Lemon juice, to taste
Salt, to taste
Sugar, to taste
Salad
1 head iceberg, shredded
4 Campari tomatoes, cut into 1/8 1⁄2 cucumber, chopped
1⁄2 jar pickled beetroot
1⁄2 red onion, thinly sliced Handful of dill, picked
Chips
4 Agria potatoes, peeled
Pickle Salt
100g salt
25g brown sugar
1 jar McClures’ Bread & Butter Pickles, dehydrated (dehydrate at 65C for 48hrs) 2g celery salt
Method
Chips
For the chips, cut rounds out of the potatoes with an apple corer. Keep the offcuts - these are still yum!
Bring a pot of salted water to the boil and boil the chips until just cooked. Drain and spread out on a cloth-lined tray. Place in the refrigerator overnight to dry out.
The next day, heat your deep fryer to 140C. Fry the potato chips for 10 minutes, then drain and set aside.
Pickle Green Goddess
Bring a pot of salted water to the boil and prepare an ice bath for blanching.
Pick herbs and cut spring onion tops into smaller chunks. Blanch in the boiling water for 20 seconds, then using a slotted spoon, plunge into the ice bath.
Drain herbs and place in a blender with the pickles. Blend until smooth.
Whisk Kewpie mayonnaise and sour cream together and fold through the herbs. Add kombu. Season to taste with salt, sugar and lemon juice
Pickle Salt
Blend the dehydrated pickles in a high-speed blender to a powder consistency.
Add remaining ingredients and mix thoroughly.
Store in a sealed container.
Fried Fish
Brine Warehou in pickle brine for 3 hours in the fridge.
After 3 hours, remove the fish from the brine. Heat your deep fryer to 175C.
Place the fish in the Moore Chicken Wet Mix, then into the Dry Mix, pressing down to get a nice coating. Fry the fish until cooked and crisp. Drain on paper towels.
Return the precooked chips to the fryer and cook until golden and crisp. Season with Pickle Salt.
Salad
Toss together the iceberg, tomatoes, cucumber, beetroot, dill and red onion with 2 tbsp Pickle Green Goddess.
Assemble
To build sandwiches, butter all slices of bread with soft butter.
On the bottom slice, layer shredded iceberg and sliced red onion. Place the fried fish on top, drizzle with Pickle Green Goddess, then finish with pickles.
Top with the remaining slice of bread.
Serve with Pickle Salt Chips and salad.
Share a picture of your pickle creations by tagging us on Instagram @cookandnelson.Enjoy!